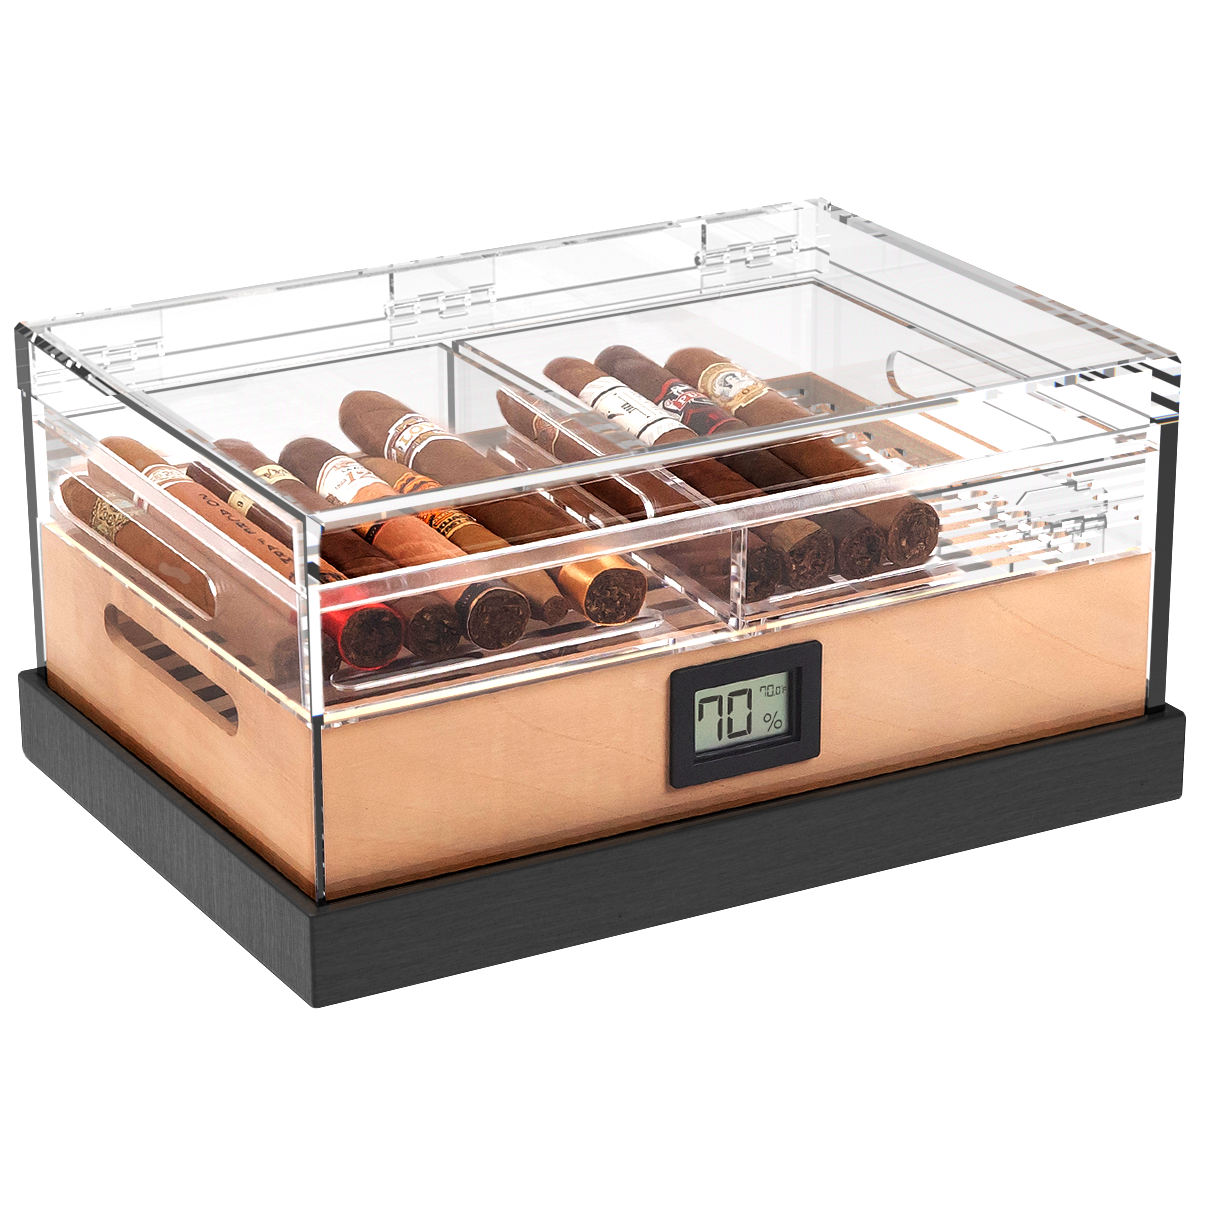
There’s a saying that “antique never goes out of style.” Well, it may not be a saying, but it’s true. The market for cool, lightly used, stylish old goods is always hot. Thrifting is very en vogue. And it’s absolutely possible to find an exceptionally old humidor that would look just perfect sitting on your desk or the bookshelf behind your big leather chair.
Thrifting isn’t the only way to come across cool, antique humidors, of course. One may get passed down to you, or you happen to find an old one in an attic of a house you move into. How you come across it doesn’t really matter. Despite a humidor’s timeless good looks, there’s a good chance that your second-hand gem isn’t in the greatest condition—at least not when it comes to storing your stogies.
The bright side is that, unless it’s drier than the Sahara Desert in there, your antique humidor can be restored to its former glory. Here are a few restoration tips to keep in mind to get your humidor back in ship-shape.
Taking Care of the Interior of Your Antique Humidor
Inspection always comes first. You fell in love with this thing at first sight, but now that you’ve got it home, how does it really look? Get a flashlight and take a good look inside. Does it look like it seals relatively well? Any cracks in the interior lining? Any warping? Mold or staining?
These are bad signs, but not necessarily deal-breakers. First, try a very light sanding with a fine-grit sandpaper. If you’re able to remove the staining or level the warp, the humidor just may be able to get back into working condition. As a note, never apply water directly to the lining, as it may just make the warping worse.
Warping and cracks are particularly bad for the lining of a humidor, because it means it’s more difficult for the box to maintain a consistent level of humidity. Anything that may disrupt the seal or cause moisture to get out will make it practically impossible to create a safe storage environment for your sticks.
Caring for the Exterior of Your Humidor
Once you’ve ensured the interior is worth restoring, you can take care of any exterior issues the humidor may present. Depending on its age and the number of times its changed hands, it may have a handful of bumps, scratches, and divots. You may think these just give it character—every humidor should have a good story—but if you’re looking for a full restoration, do it before you get to the seasoning process (which you’ll see below).
If you want to restain or touch up the paint, you’ll need to remove the bulk of the exterior. A medium-grit sandpaper should help get any varnish or paint off and get it down to the wood, then increasing to a fine-grit sandpaper will help smooth out any wrinkles. From here, you can use wood filler to patch any dings.
Once that dries, apply your stain of choice or simply paint your humidor. Apply as many coats as necessary. After that’s dried, a thin clear coat of varnish or lacquer will get you the shine you’re after.
Let any paint, stain, and clear coat completely dry and cure before you begin working on the interior of your humidor. It’s important to maintain the quality of the lining, given that your cigars will rely on the interior wood for both humidity and flavor. You don’t want to smoke a prized cigar and get notes of polyurethane.
Seasoning Your Antique Humidor
The technical term for rehumidifying your humidor is called “seasoning.” It’s the same process you would undergo with a brand new humidor. It prepares the interior lining of the box—made of a porous wood called Spanish cedar—by allowing the wood to soak up the humidity it needs to function properly.
If you weren’t to reseason or rehumidify your humidor and just pack cigars into it as-is, you’d find that your cigars would dry out quickly. They’d become brittle, perhaps crack and have difficulty holding together, and should you smoke one the flavor would be bitter and acrid.
There are a lot of schools of thought on best practices for seasoning a humidor, but we have a particular method that we recommend. Our seasoning solution is specially formulated to work with relatively-large humidors, like those in our Klaro line. You’ll often hear about two-way humidification systems, but our results show that they’re just not potent enough to season a larger humidor.
This is the seasoning process we recommend:
- Open the humidor and remove any trays that may be in it.
- Place a small plastic container (a plastic food food storage container will work) inside the humidor and fill it with humidor solution. It doesn’t need to be full.
- After 12 hours, you want your humidor to be about 68 percent humidity or higher. This can certainly take much longer. If you have difficulty reaching this number or your humidor is in particularly rough shape, we recommend using our Winter and Dry Climate Solution, which is available through our Klaro membership.
- After hitting the 68 percent target, open the gel packet and sprinkle it into the container. Add more solution.
- Wait 6-12 hours for the crystals to soak up the solution.
- Analyze the humidity reading.
- If the humidity level is 70-75 percent, move on to step 7.
- If it’s reading between 65-69 percent, add more solution to each quadrant, then move to step 8.
- If it’s below 65 percent, we recommend that you use the Winter and Dry Climate Solution.
- If it’s above 75 percent, remove the container for between 12-48 hours. Then reinstall and determine the reading.
- Remove the container and replace any trays.
- Place your cigars into the humidor. Keep it as full as possible. The cigars will soak up some humidity. Wait for things to equalize over 24-48 hours and determine the reading. Then make adjustments as necessary.
Parting Puffs
If this antique is your first experience into the world of humidors, it can get pretty interesting–especially if you are a regular cigar smoker. An antique might require a little more TLC, but they are truly one-of-a-kind if you can get yours in working order. For more insight on humidor care, functionality, humidor accessories, and how to dial in the humidity of your humidor, check out our comprehensive humidor guide to learn more.


