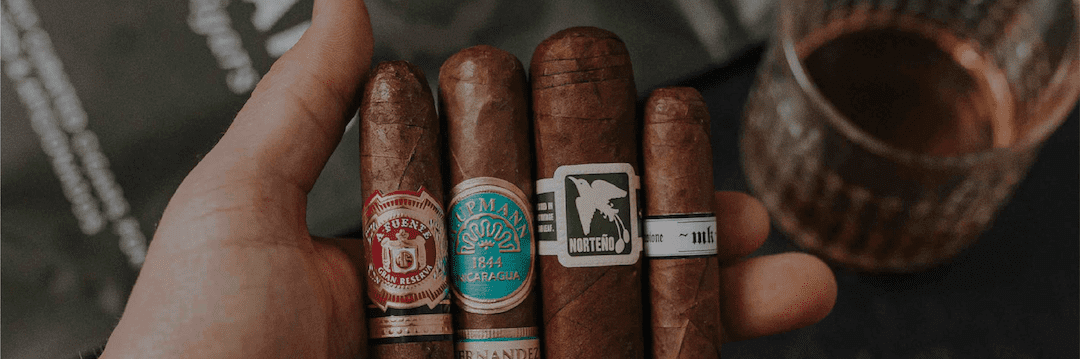
A lot of aficionados take their cigar appreciation seriously. Others, though, take it very seriously. Off-the-charts seriously. Dedicate their lives to it seriously.
These types of people don’t have a casual humidor sitting on their desk in the home office. They have an entire room dedicated to their smokes. A full, temperature-regulated, humidity-controlled room that houses a massive collection of cigars, ready for a good smoke at a moment’s notice.
This type of room is called a walk-in humidor. Just like a home might have a walk-in closet to handle a ton of clothes or a walk-in wine cellar for a serious oenophile, a walk-in humidor is a perfectly designed room that’s built specifically to store cigars and maintain them at an optimal level of humidity.
Unless you’re remarkably handy, we don’t necessarily advise trying to build your own walk-in humidor—it can be quite an undertaking and requires a good amount of knowledge ranging from electric to basic framing. But if you’re in dire need of an excessive amount of storage space for a cigar collection that’s outgrown your other humidors, then follow along for a basic guide to build a walk-in humidor.
The Easiest Way to Build a Walk-In Humidor
Walk-in humidors take up space—obviously. It’s why they’re able to hold so many cigars. So if you’re not willing to dedicate four new walls to your space, there’s one much easier way to build a small walk-in humidor: convert a closet into one. Closets are usually protected from the sun and as long as they’re not facing an exterior wall, then they’re perfect candidates for a walk-in humidor. Keep in mind you’ll need to effectively seal the room off entirely to perfectly maintain humidity levels and temperature.
What You Need to Build a Walk-In Humidor
This bears repeating: if you’re not particularly handy or good with power tools, this is not a job for you. Hire a contractor.
Now, with that out of the way, there’s no one way to build a walk-in humidor. There are, however, a few basic tools and materials you’ll need to make it happen.
As you’re reading this list, keep in mind that a humidor is designed to be a humid, relatively damp room. And think about what happens to other parts of your house that are constantly humid and damp—say, your basement. Mold. So obviously, regular building materials like drywall and carpeting aren’t going to fly in this. It will be much more similar to a bathroom build than other rooms in your home.
Here’s a list of materials you’ll need to build a walk-in humidor. This list isn’t exhaustive, but it will certainly get you started—depending on just how large your humidor is.
- Vapor barrier - used to reduce moisture movement through walls and ceilings.
- Moisture-resistant drywall - a specially formulated drywall designed to resist moisture.
- Spanish cedar - a special type of wood found inside humidors with excellent breathability.
- Hardwood or tile - for the floor, hardwood must be sealed. Otherwise, tile works fine.
- Trim - to hide corners for a cleaner look.
- Door - a heavy, sealing door (like a refrigerator) to lock in moisture and temperature.
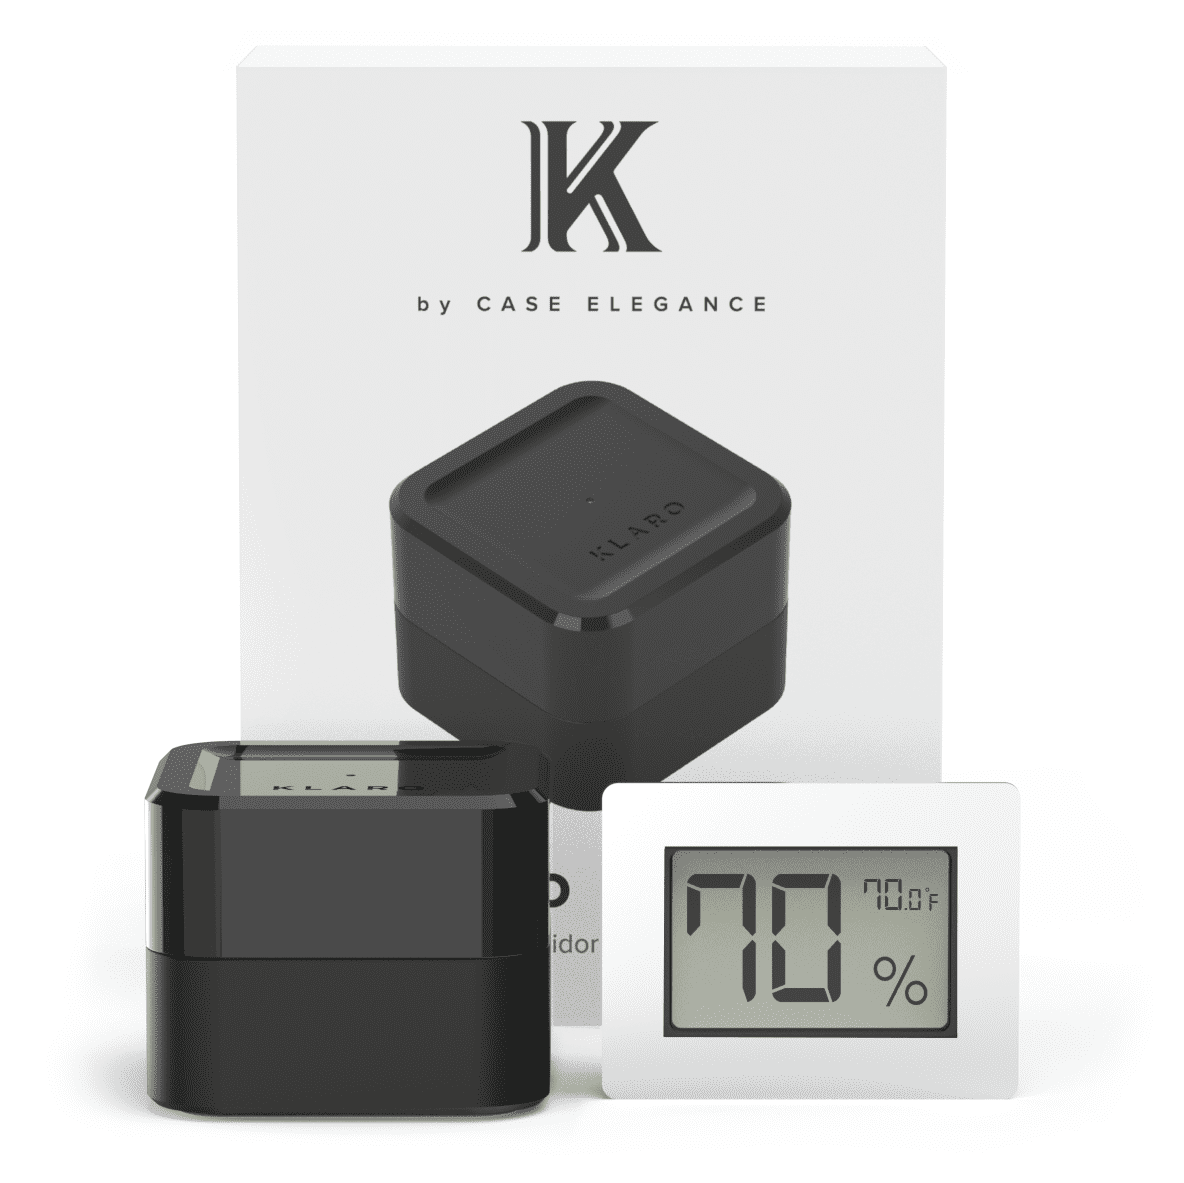
- Humidification system - designed for a full room.
- LED Lighting - best light source as cigars are harmed by light from UV rays.
Building a Walk-In Humidor
Let’s be clear: the steps below are not exhaustive, but they’re a general guideline you can follow that should help you figure out what you need to do for your own space.
If you’re in a predefined space (like a closet), these steps assume you’ve already removed the drywall and taken the space down to the studs.
- Install the vapor barrier over the framing and insulation. Cover the ceiling and the walls.
- Install the flooring. If your floor is concrete, you can seal it. If your floor is hardwood, you’ll also need to seal it. Ceramic tiles work well.
- Install moisture-resistant drywall.
- Install Spanish cedar planks over the drywall. You can use an alternative wood, but Spanish cedar is easily the best option—though it is pricey.
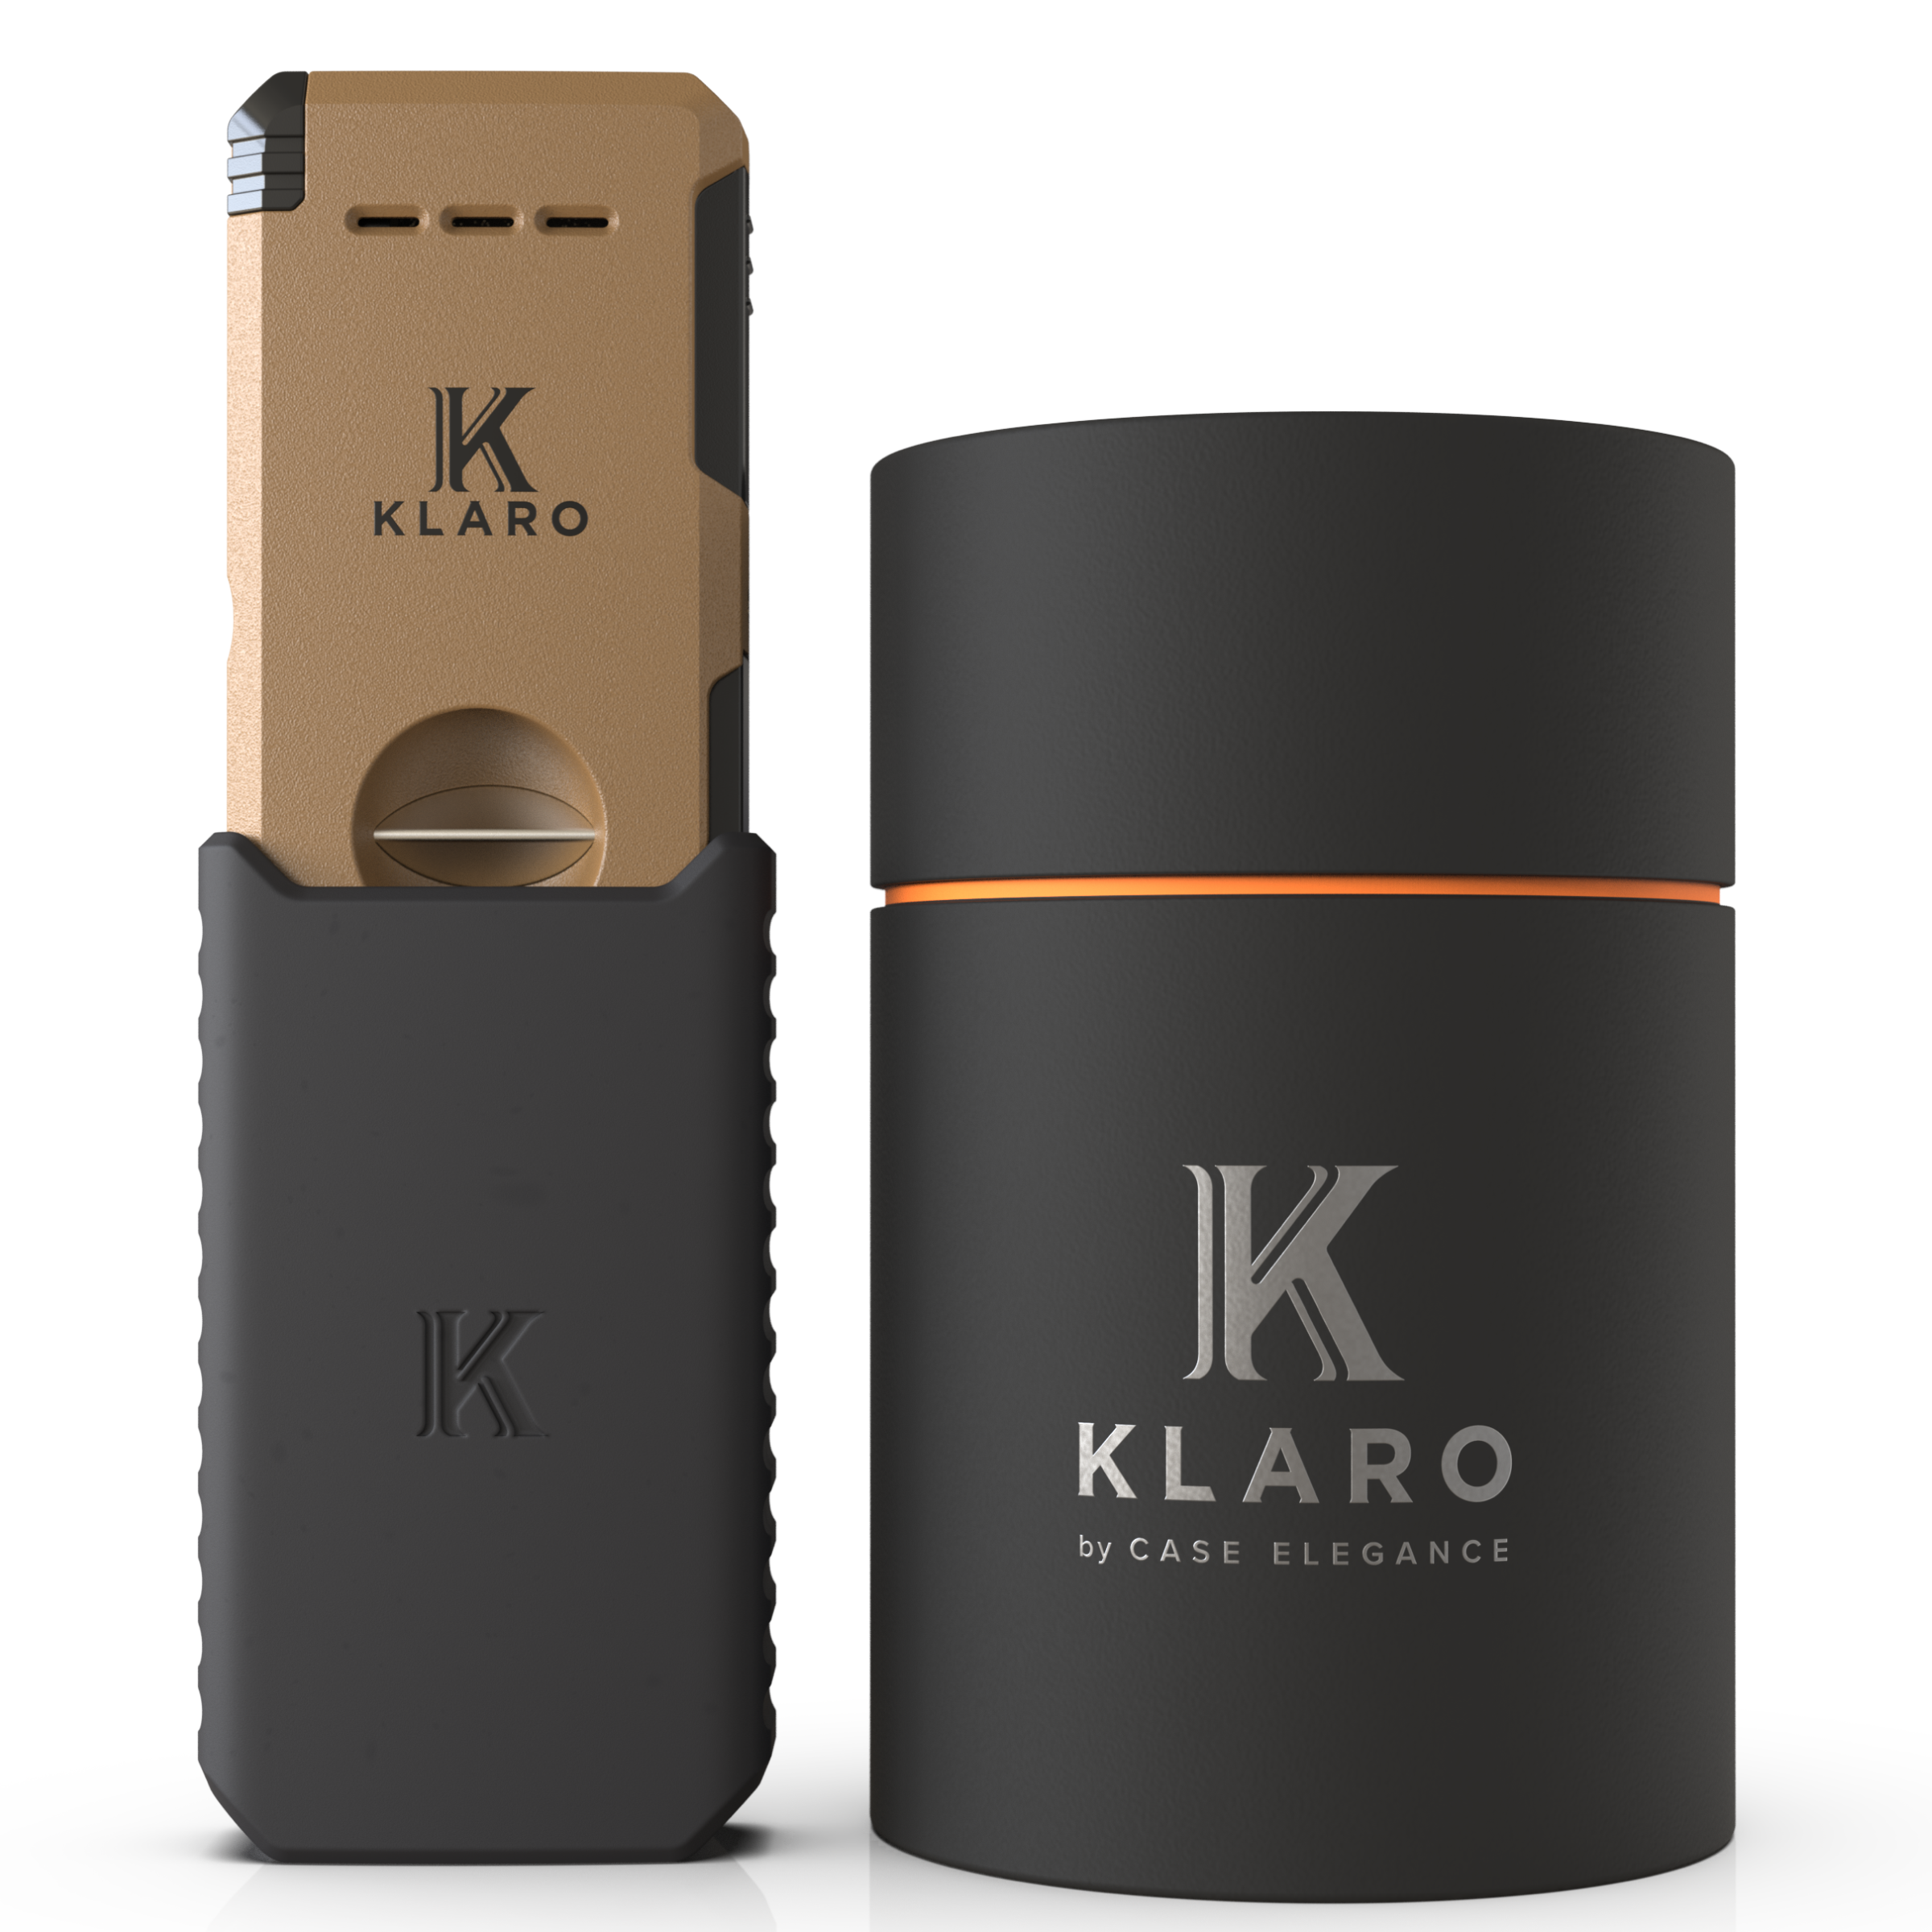
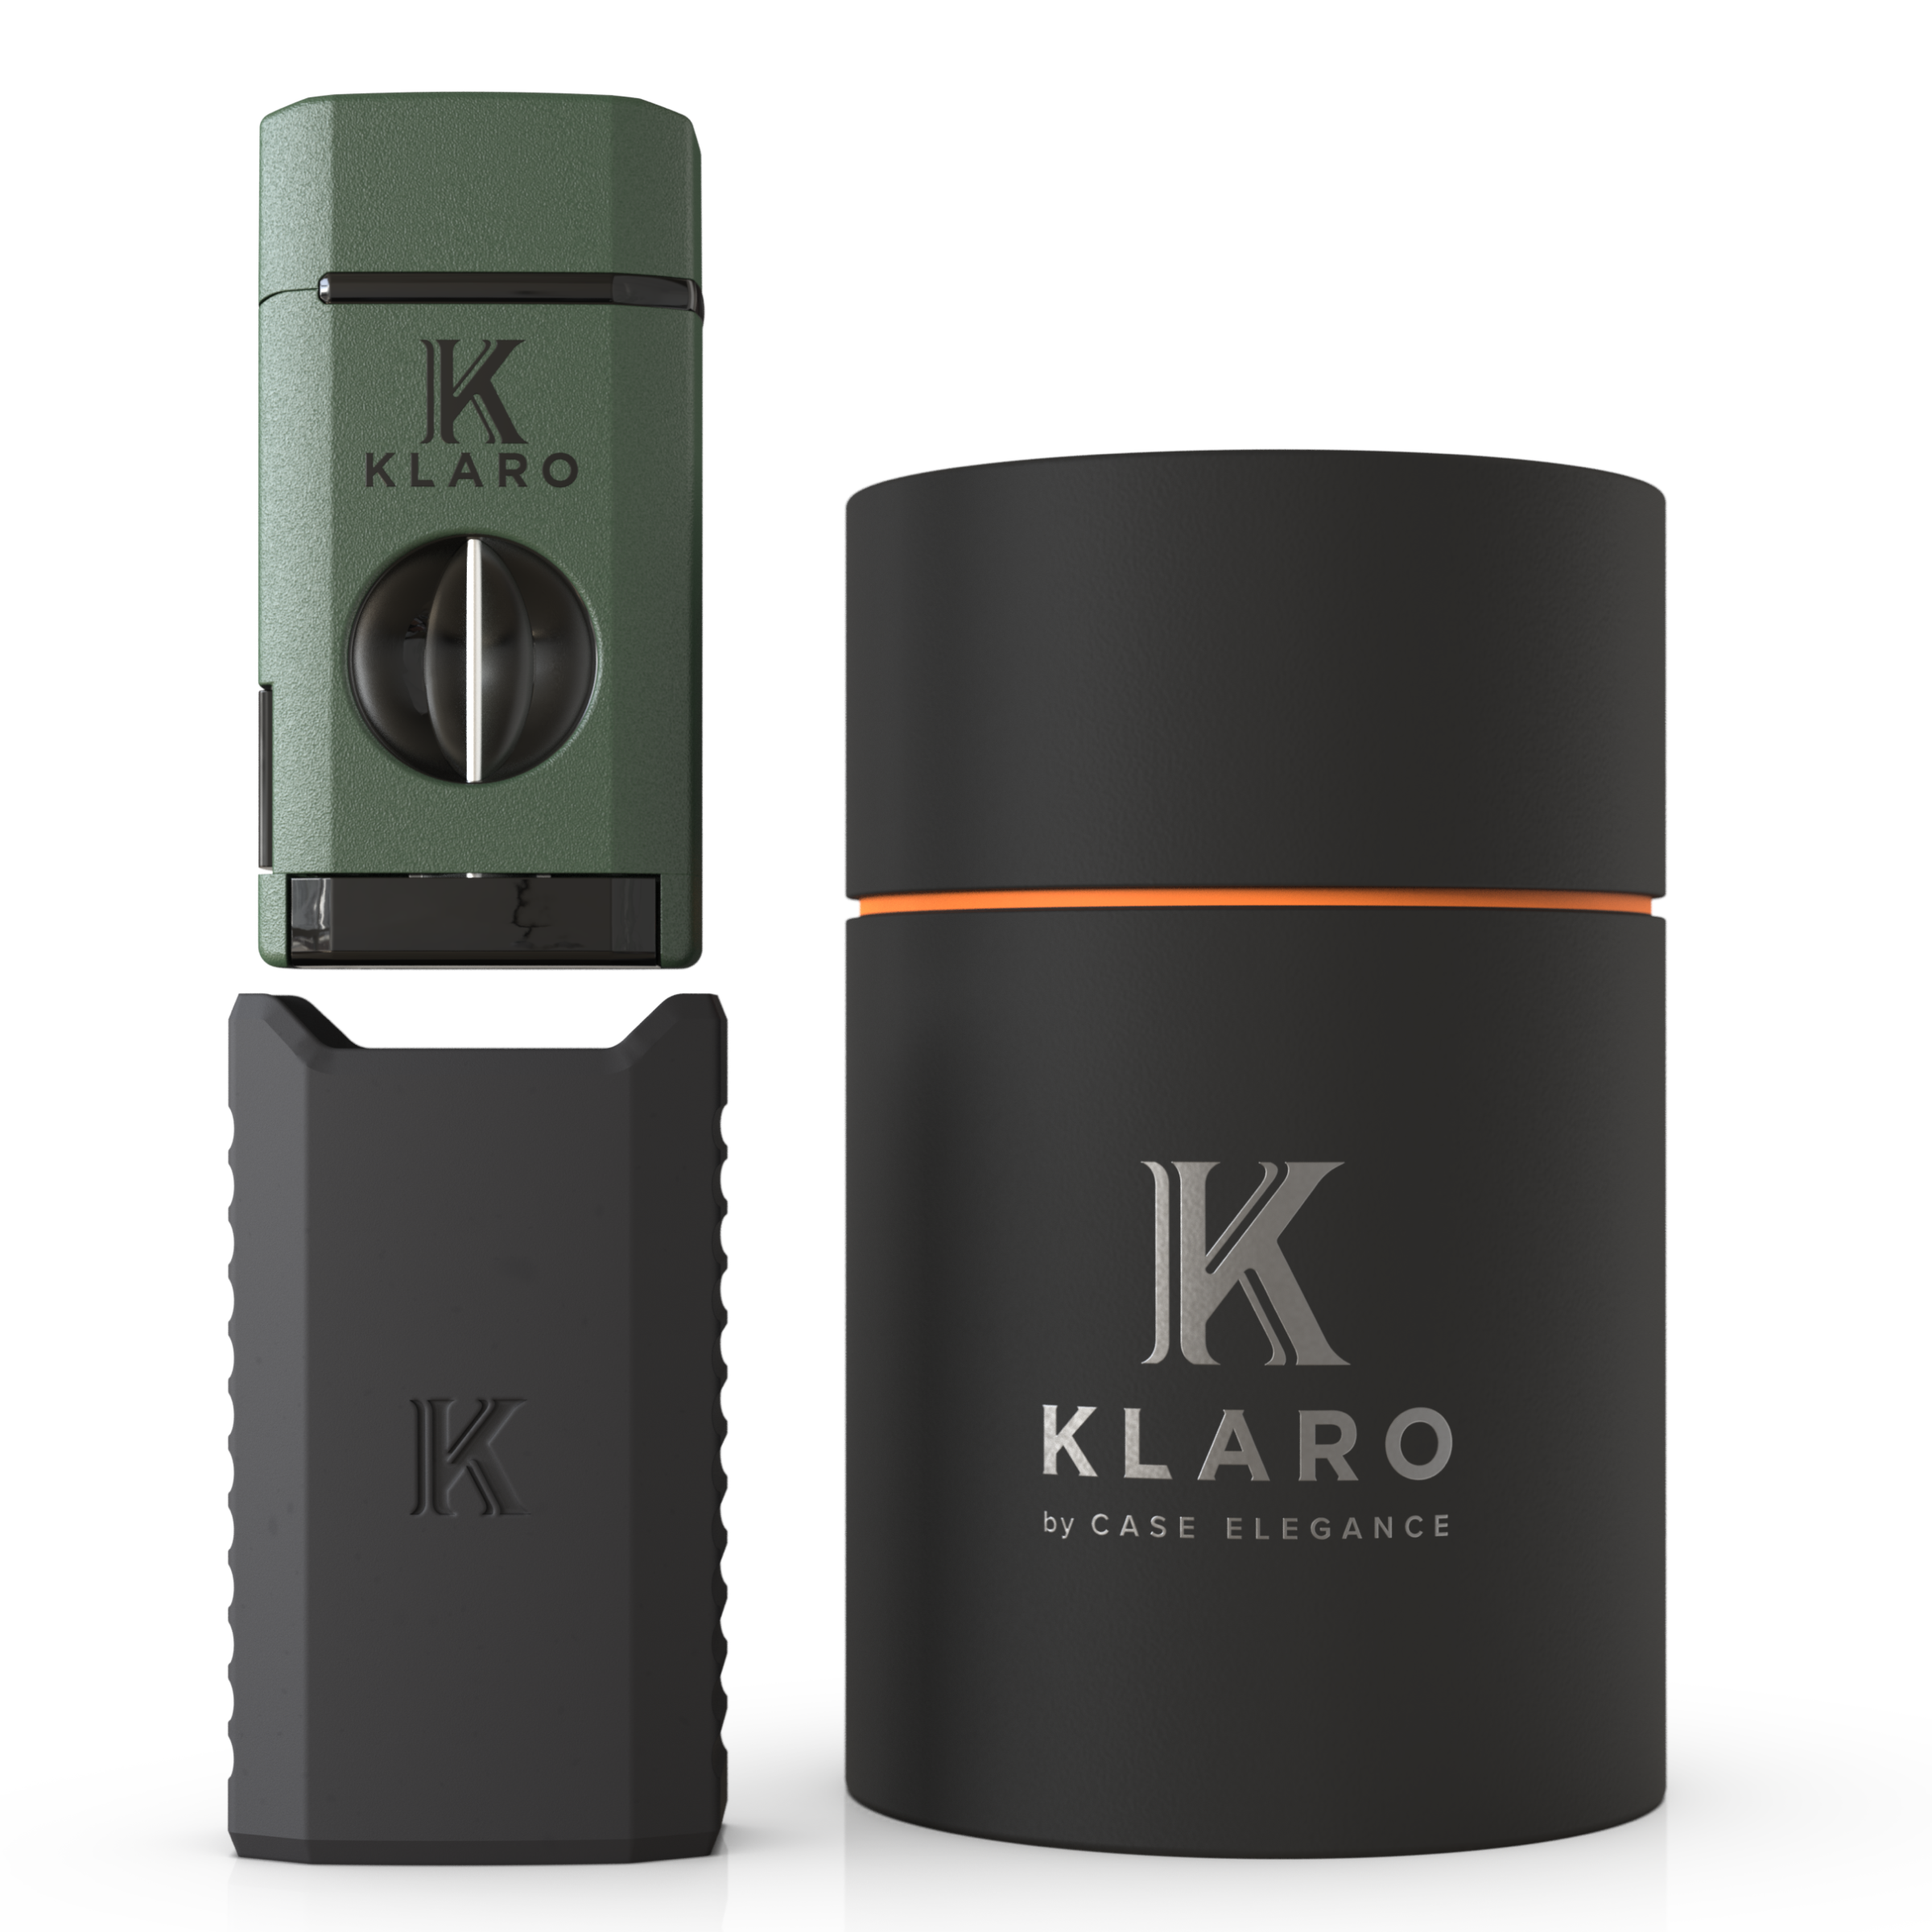
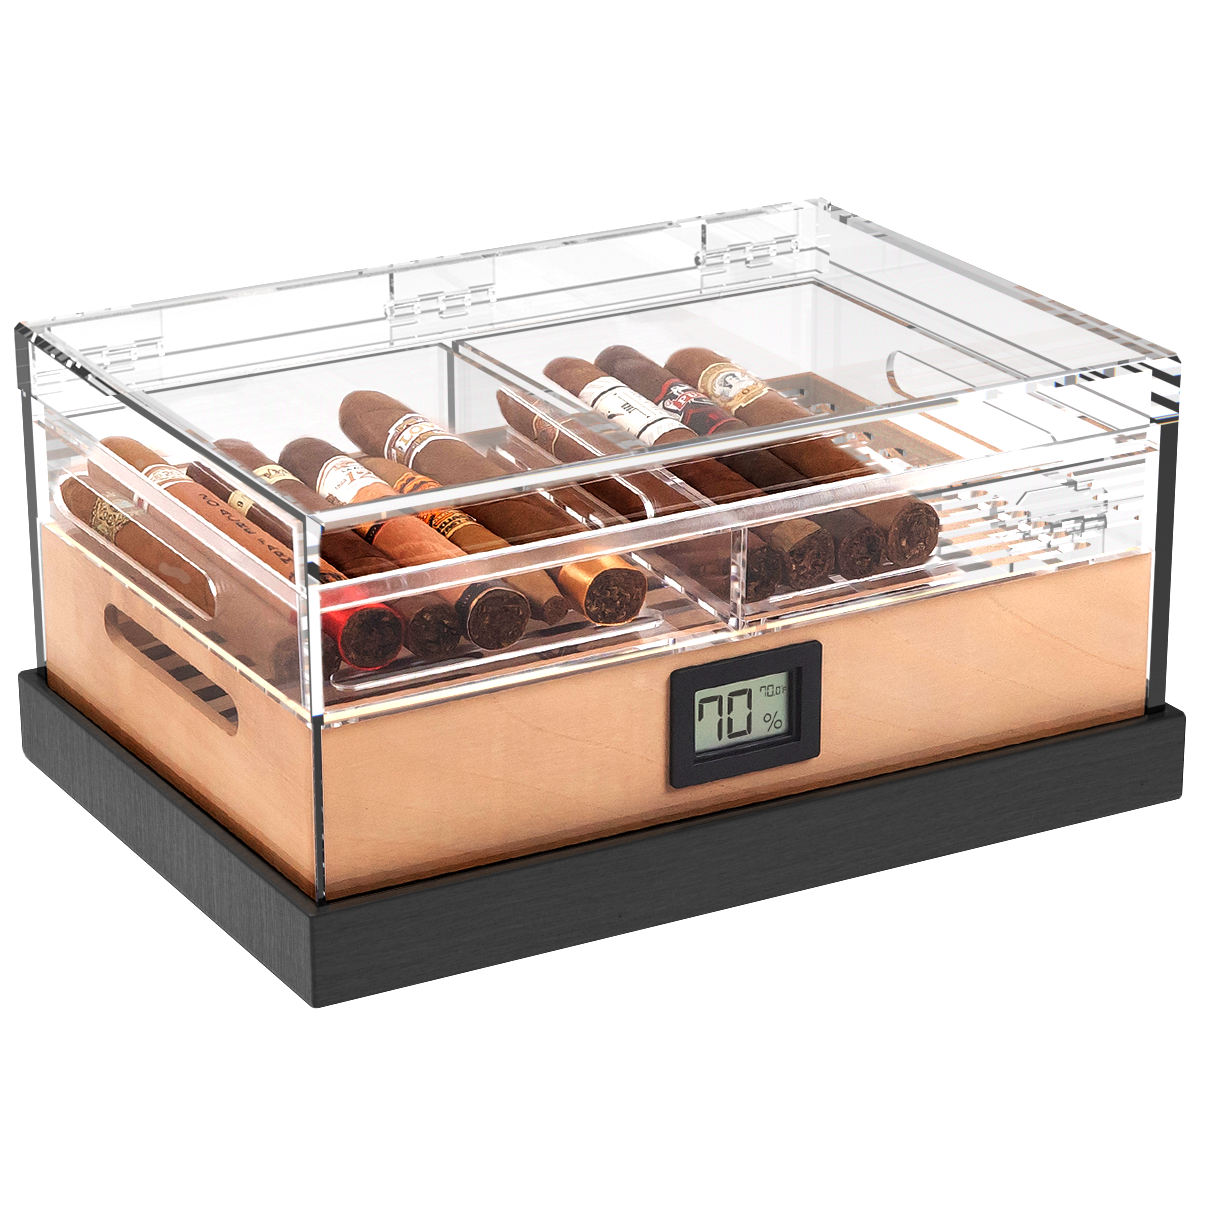
- Install shelving brackets and shelves. Ideally, your shelves will also be slotted Spanish cedar, like you’ll find in a traditional humidor like our Klaro series.
- Install the door. Use weather stripping to maintain humidity levels inside the room.
- Install a humidification system. There are dozens of models on the market, from those that tie directly into plumping to those that must be filled. It should be placed in a spot that allows the humidity to fill the room evenly.
- Install LED lighting.
That, in a nutshell, is it. It’s a serious process and one you have to take seriously if you want to protect your cigars.
Of course, if a walk-in humidor is mostly just a pipe dream and you can make do with a traditional humidor (or two), then we’ve got you covered.