You might think you have a lot of humidor knowledge and, of course, you know the importance of having one. You love gawking at your most recent humidor purchase because the gorgeous exotic tiger wood body and the intricate artwork inlay on the lid are both sights to behold. You’ve properly seasoned it based on our recommendation and guidance and then loaded it up with precious tobacco cargo.
In fact, you were so excited that you didn’t really pay attention to the seal between the lid and base, and how your hygrometer shows that it’s having trouble retaining the right humidity level. It’s been this way for weeks. Maybe you didn’t even notice that your humidor’s lid actually slams down a little when you let it go instead of making that whoosing sound between the lid and the protruding liner lip when you close the lid.
If you just bought a humidor, it’s a good idea to test the seal before you actually condition the humidor in case you need to return it or shop for another one. If the lid is loose and doesn’t close tightly, then it’s time to look for another model. Of course, wood expands when it retains humidity, but don’t assume that if it feels loose now that it will rise to the occasion and tighten its own seal after you condition it.
If you’ve had your humidor for a little while, and you notice that your cigars dry out even after making sure your humidor accessories are working properly, it’s time to check the seal. A leaky humidor seal is nothing to ignore because your cigars can dry out in less than two weeks if this situation isn’t remedied. What’s even more baffling is that the lid seems to make that all-important whooshing noise when you close it, the sound of air being pushed out of the way to allow the lid to close. Don’t assume that just because this happens, all is good under the hood.
Perform a Humidor Hygrometer Check

Before you check the seal, make sure your humidifier unit is filled with humidification solution or distilled water and your hygrometer is working properly. If your hygrometer reads between 68 and 72 on your initial check, it may not read the same six or seven hours later. If you’re unsure as to whether your hygrometer is reading the humidity level accurately, follow these steps to calibrate it.
- Put a few drops of water into a water bottle cap and add a little bit of salt. Do not allow it to dissolve
- Place the cap in a small, tight-sealing plastic sandwich bag along with your hygrometer.
- Check you hygrometer’s reading after six hours (leave it in the bag). If your hygrometer reads 75%, then you know it is reading accurately.
- If it is not, remove it quickly and make the adjustment using the screw in the back. Dial it to 75%. It’s ideal to know what type of screw it is and get the right tool for the job beforehand.
Once properly calibrated, return the hygrometer to the humidor and take a reading after about an hour. If it looks good, then you can determine whether or not there’s a leak. Also, don’t just check the humidity on your hygrometer a few minutes after you fill the humidifier unit, but check it several hours and successive days after.
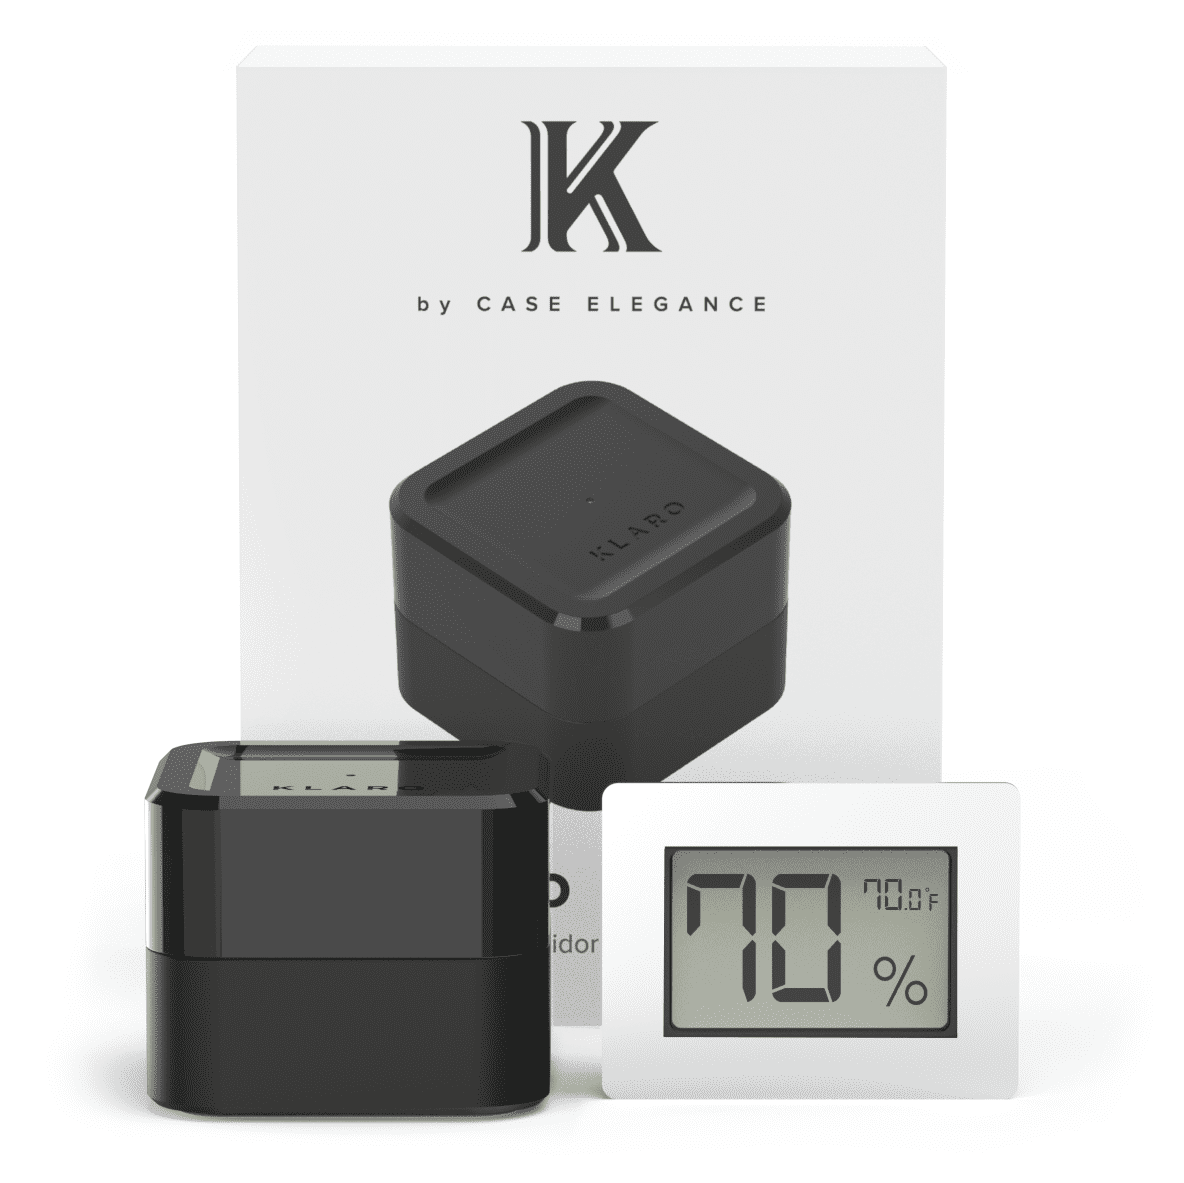
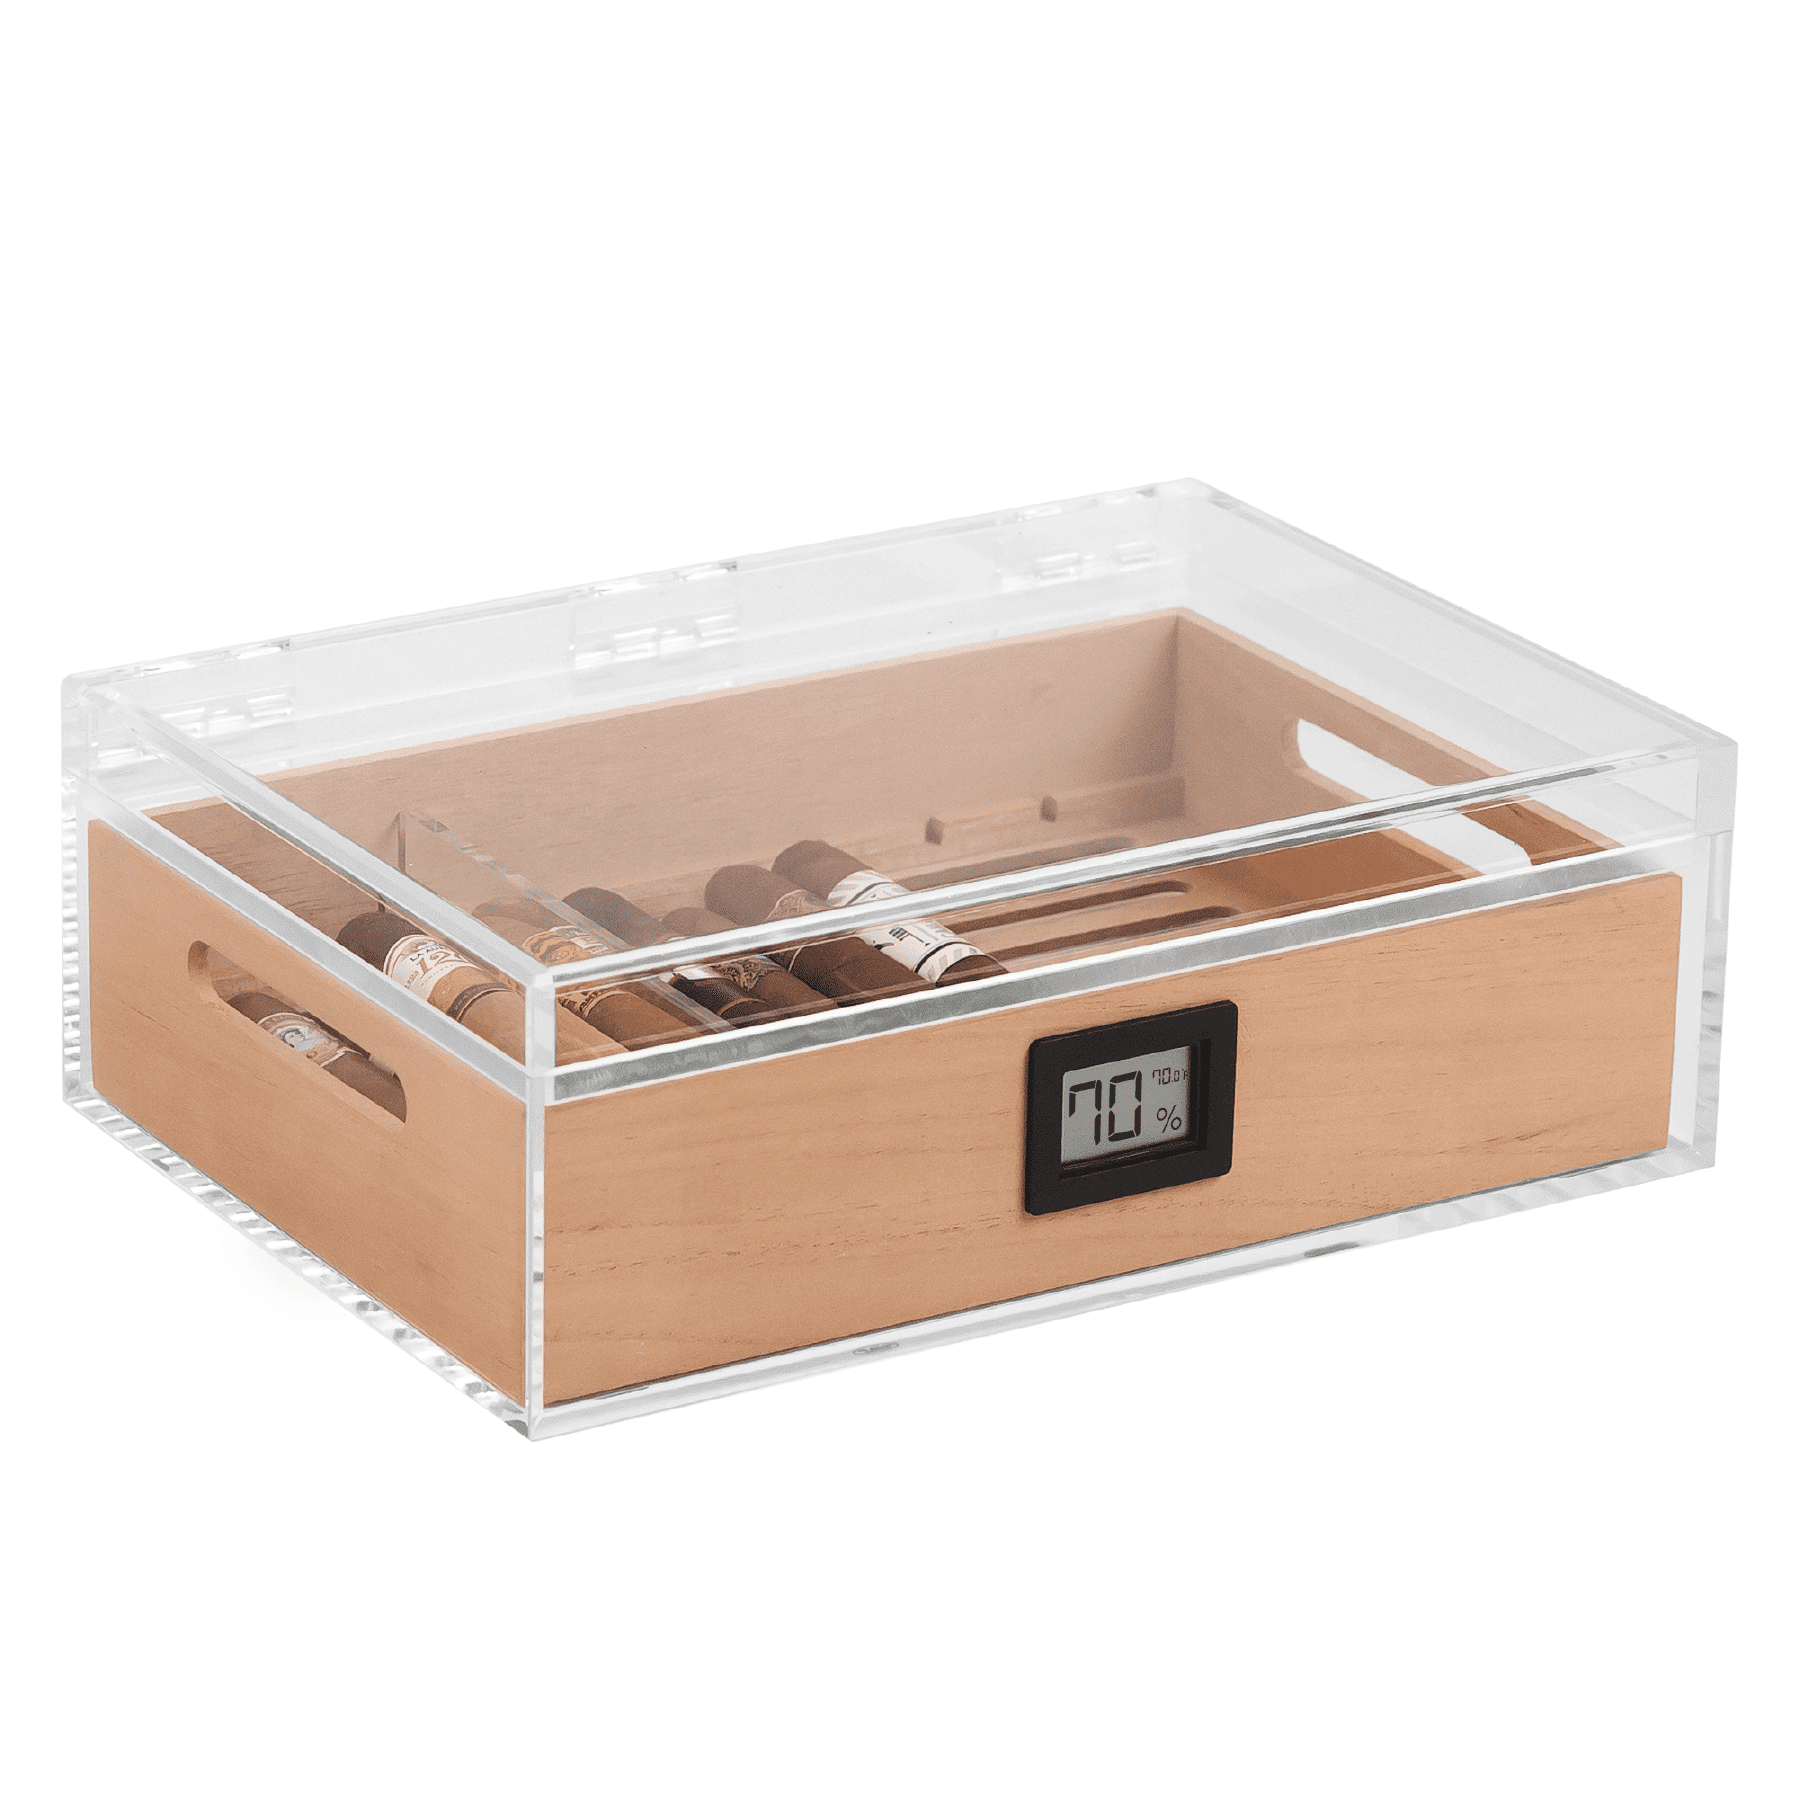
Keep in mind that having a digital hygrometer for humidors makes reading RH levels more accurate with less need for calibration or having to wonder if your hygrometer is really measuring correctly.
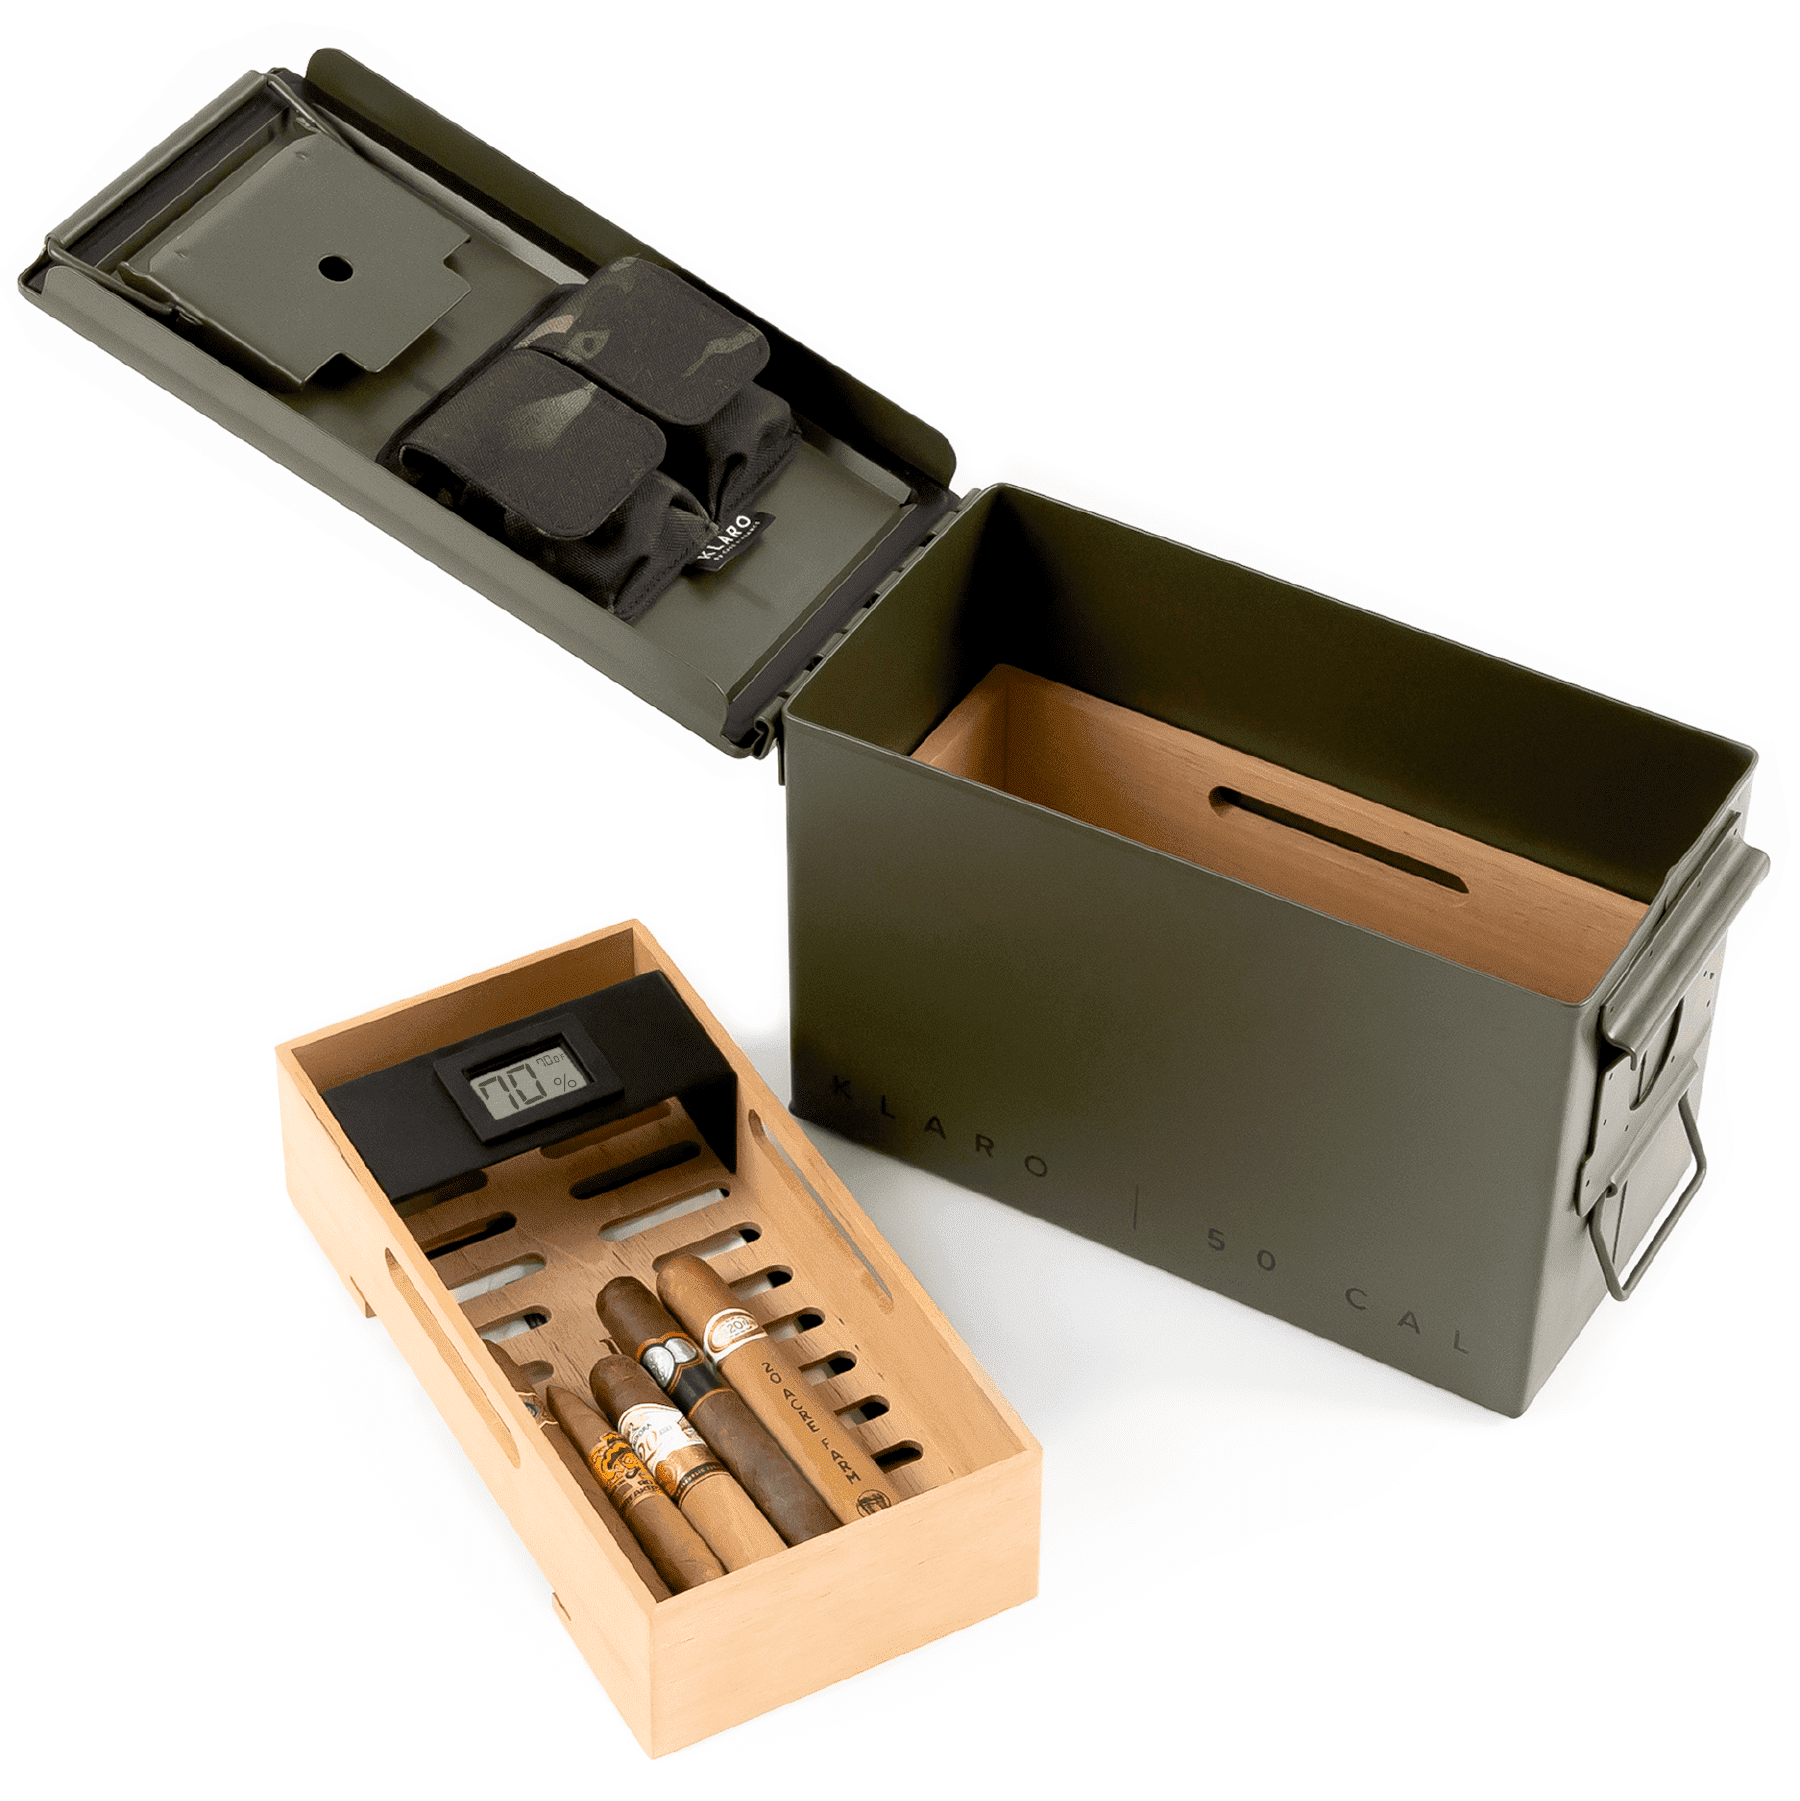
Each Klaro humidor is equipped with a gasket-sealed hygrometer that ensures its reading isn’t being affected by outside air. Many humidors on the market use hygrometers that aren’t sealed properly, so you can’t trust their reading. Just as a quality lid seal is necessary for your humidor, you need a hygrometer that has a proper seal so it’s reading only the inside humidity levels of your humidor.
Time to Test the Seal

Now that your hygrometer is properly calibrated, place it back in your humidor and doublecheck that you’ve got solution in the humdification unit. Give it a few hours to normalize and get a proper reading. If it drops below 68 percent, you may in fact have a leak, but that reading alone is not definitive.
There are a couple of ways to check for leaks, the most famous of which are the dollar bill test and the flashlight test. Both are effective, but one is more comprehensive than the other.
- Dollar Bill Test: Take a crisp and flat dollar bill (or a hundred dollar bill if that makes you feel special). Set half of it on the front lip of the lining while holding onto one end. Gently close the lid until the lid is completely seated. Gently pull the bill forward. If it provides ample resistance, then that section has a good seal. If it slides out with minimal effort, you have a leak. Continue this process on every section of the lip’s circumference.
- The Flashlight Test: Empty your humidor by removing your cigars, hygrometer, humidifier unit, and humidor packs. Turn on the flashlight (or better yet, use one of those battery operated touch lights that emit light 360 degrees) and place it inside. If it’s not in a dark location, take it to your closet and make sure the lights are all off. Close the lid and check for light leaks. If you see them, you have air leaks in your humidor. Take photos so you remember the locations.
You Have Leaks. Now What?

Probably the easiest thing to do is to purchase a new humidor you can be confident in. But if you’ve spent a fair amount on your humidor, then you probably don’t just want to get rid of it. If you know where the leaks are, you can buy a food-grade silicone sealant and close the gaps. That should work to close up the leaks. Just make sure you don’t apply too much and make it difficult to close the lid.
Once applied, leave the lid open and allow the silicone to dry for three full days, ensuring that it’s not tacky when you close the lid. You should then re-season your humidor until it reaches about 70% RH. Then, you can place your cigars back inside and then continue to check the RH over the next week or so.
Having the cedar lining replaced is another option, but that kind of work might exceed the cost of your humidor purchase unless, of course, you can do the work yourself using ¼” or ⅛” Spanish Cedar. Cutting them to the correct size and shape while also being able to make them fit for a great seal will present a challenge. We would recommend having a wood worker perform the task for you, especially if you humidor is expensive and/or has real sentimental value. At the end of the day, however, getting a new humidor doesn’t sound all that bad, does it?
At Klaro, each of our humidors have gone through an intensive design stage and rigorous testing to develop a fully-functional humidor with a proper seal around the lid and a gasket-sealed hygrometer design, so you can be sure that your reading is accurate. When you buy from Klaro, you don’t have to worry about making home-improvements to your humidor. We’ve done the legwork of testing and adjusting each humidor design to be fully functional and realiable.
Check the Seal When You Need To
Your humidor’s environment, age, and any significant movement or shock can affect its seal, so make sure you check it if it undergoes any major changes, whether its moving to another geographic location, long periods of dormancy, an inadvertent drop, etc. The idea is that if the delicate environment of the humidor undergoes change, the effectiveness of the seal can also change. Although you shouldn’t be paranoid, vigilance over your humidor and your cigars will stave off major problems over the long run, and a fix for a bad seal might not be all that cumbersome.